All-on-4 dental implants are an innovative solution for restoring multiple missing teeth or a full arch of teeth. This implant-supported dental prosthesis offers stability, functionality, and aesthetics. To ensure the longevity and success of your All-on-4 implants, proper oral hygiene is crucial. In this step-by-step guide, we will walk you through the process of effectively cleaning your All-on-4 dental implants, helping you maintain a healthy and radiant smile.
Step 1: Gather the necessary tools:
Before you begin cleaning your All-on-4 dental implants, gather the following tools:
Soft-bristle toothbrush: Use a toothbrush with soft bristles to clean your implants gently. Hard bristles can scratch the implant surfaces and irritate the gums.
Non-abrasive toothpaste: Choose a toothpaste that is specifically formulated for implants or recommended by your dentist. Avoid abrasive toothpaste, as it can damage the implant surfaces.
Dental floss or interdental brushes: Use dental floss or interdental brushes to clean the areas between the implants and around the gum line.
Antimicrobial mouthwash: Rinse your mouth with an antimicrobial mouthwash to help reduce bacterial growth and maintain oral health.
Step 2: Brush your implants:
Start by brushing your All-on-4 dental implants thoroughly. Follow these steps:
- Hold your toothbrush at a 45-degree angle and brush the implant surfaces gently. Use small, circular motions to clean all sides of the implants.
- Pay special attention to the gum line and areas where the implants meet the gums. Plaque and bacteria can accumulate in these areas.
- Brush the entire arch of implants, ensuring that you reach each implant and all accessible surfaces.
Step 3: Clean between the implants:
Next, clean between the All-on-4 dental implants using dental floss or interdental brushes. Here’s how:
- Gently slide the dental floss or interdental brush between the implants, moving it back and forth to remove any food particles or plaque.
- Be careful not to force the floss or brush between the implants, as this can cause damage. Use a gentle, sawing motion instead.
- Repeat this process for each gap between the implants, ensuring thorough cleaning.
Step 4: Rinse with an antimicrobial mouthwash:
After brushing and flossing, rinse your mouth with an antimicrobial mouthwash. This helps eliminate bacteria and freshens your breath. Follow the instructions provided with the mouthwash for the recommended duration of rinsing.
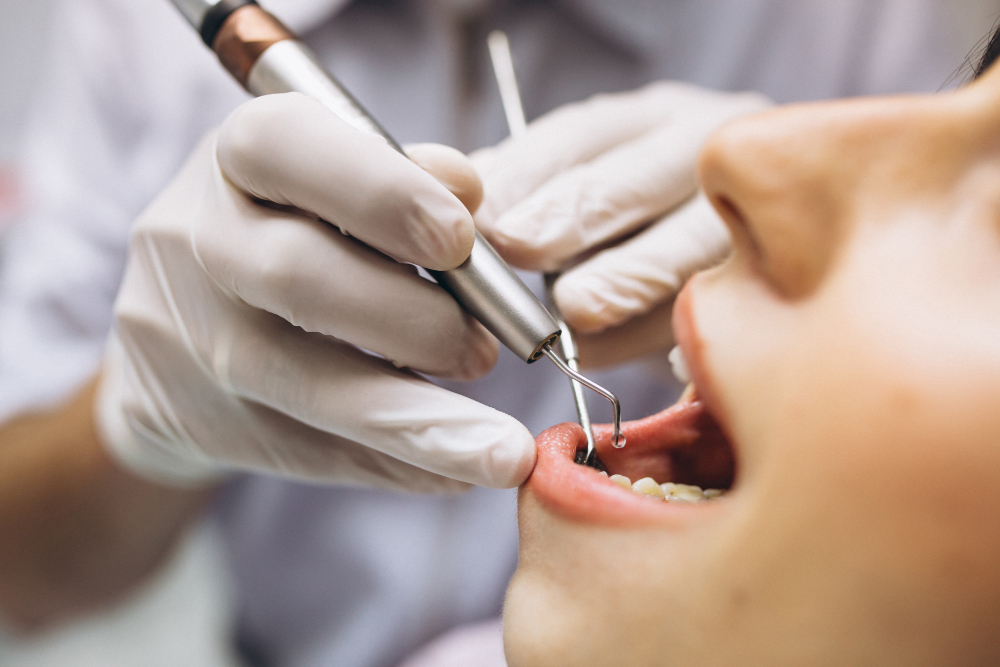
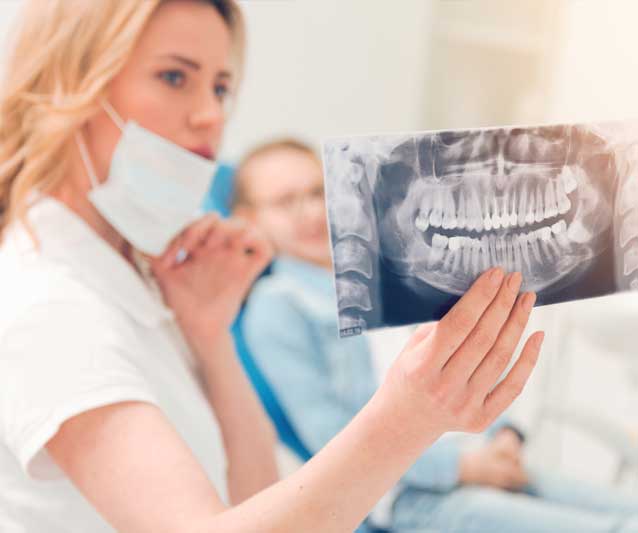
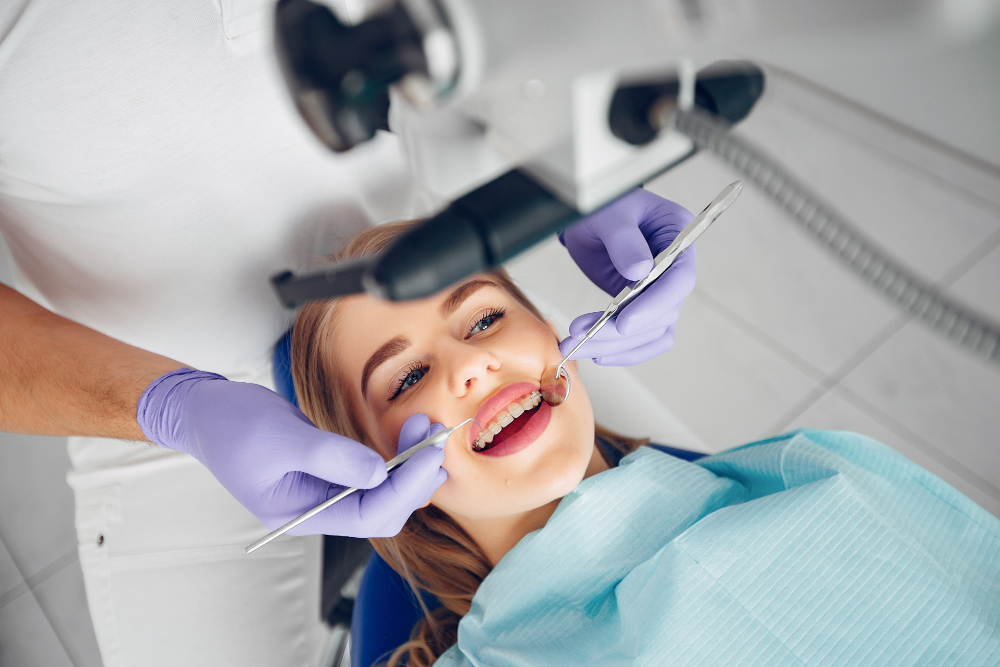
Step 5: Schedule regular dental check-ups:
While maintaining a proper cleaning routine is essential, regular dental check-ups are equally important. Schedule routine visits with your dentist to monitor the health of your All-on-4 dental implants, identify any potential issues, and receive professional cleaning and maintenance.
Additional Tips:
- Avoid using excessive force when cleaning your implants to prevent damage to the prosthesis or gums.
- If you experience bleeding or notice any unusual symptoms, consult your dentist immediately.
- Follow any additional cleaning instructions or recommendations provided by your dentist.
Conclusion:
Proper cleaning and maintenance are vital for the longevity and success of your All-on-4 dental implants. By following this step-by-step guide, you can effectively clean your implants, ensuring a healthy and radiant smile. Remember, maintaining regular dental check-ups and seeking professional advice is essential for optimal oral health and the long-term success of your All-on-4 dental implants.